2024-Current Lexus GX550 Front Hybrid Bumper Installation Guide

Disassembled black plastic dashboard panel with red brackets and small black mounting pieces on a white surface.

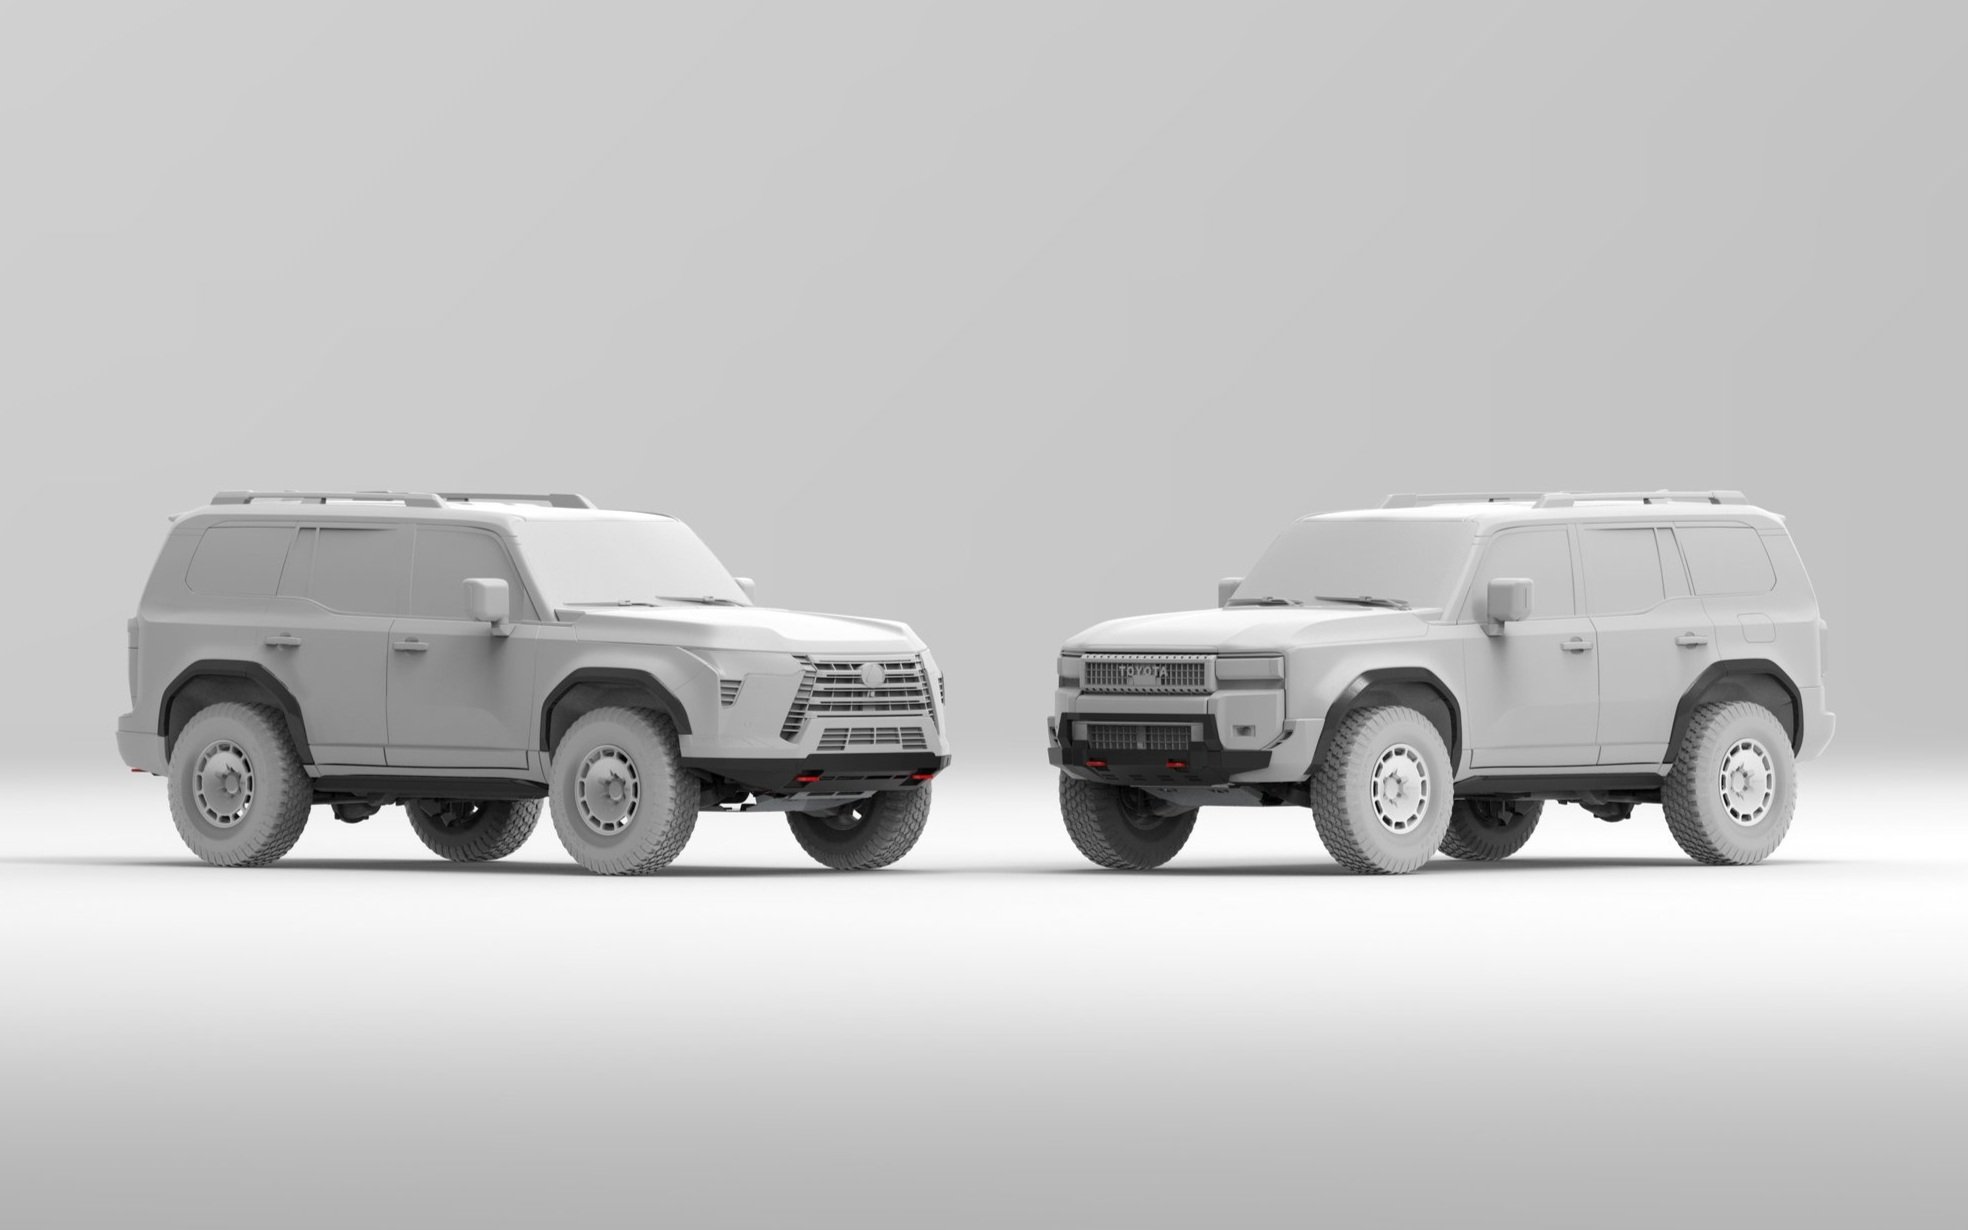
A quick preview of all the parts of the bumper assembly.

Close-up of a vehicle's undercarriage showing multiple bolts and screws, some circled in red and blue for identification.
Close-up of a gray electronic device with three circular openings or sensors.

Start by removing the lower air dams on each side of the vehicle by removing the 10mm bolts and the push pin clips as shown in the pictures.

Remove the recovery points or tie down points on both sides.

Close-up of the underside of a vehicle's front bumper, showing several screws circled in red, with a black tire visible in the background.
Underbelly of a device with seven screws circled in red, showing internal components and parts.
Black plastic automotive part with mounting points placed on a light-colored wooden surface, with a gray cracked concrete background.

Next, for Overtrail models, remove the extension plate (six M8 bolts) and then the plastic trim behind it.

Underneath view of a vehicle's undercarriage showing the skid plate and suspension components
Underneath of a vehicle's undercarriage showing five bolts marked with red circles for removal or repair.

For non-Overtrail models, it is a similar process without the extension plate.

Close-up image of a mechanical assembly, showing various metal components and a black plastic switch circled in red.
Close-up of a vehicle's undercarriage showing a black metal panel with a red circle around a circular screw or bolt.
Black automotive mounting bracket on a wooden surface with a small wheel cap nearby.

Remove the air deflector on each side by removing the push pin in the wheel well and the tab on the bottom (twist to remove).

Underneath a vehicle showing three bolts circled in red, with a portion of tire visible on the right.
Close-up of a black plastic surface with a circular button or sensor marked with a red circle.

Remove the rest of the bolts (10mm) on each bottom side of the bumper, and 1 push pin in the front lower portion of the wheel well liner. Pull the front of the wheel well liner to reveal the nylon clips behind.

Close-up view of an electronic device interior showing wiring, connectors, and clips, with two clips circled in red.
Close-up of the internal components of a vehicle's dashboard with wires and connectors, and a red circle highlighting a specific part.
null

Reach in from the wheel well and from the bottom, and remove 3 nylon clips on each side holding the lower valance to the bumper cover.

Close-up of a vehicle's front grille with multiple horizontal slats, some of which are outlined with red lines.
Close-up of a black plastic frame with four white clips highlighted by red circles, placed on a wooden surface against a concrete background.
An automotive bumper with multiple screws circled in red, placed on a wooden workbench. Various tools including a socket set and a screwdriver are also visible on the workbench.

Remove 6 nylon clips in the middle section of the lower valance. They can be reached through the lower front grille openings.

The lower valance can now be removed without the need to remove the whole front bumper cover.

Disassembled black car front bumper with a lower trim piece, placed on a wooden pallet along with various tools and parts on a concrete floor.

Remove the plastic crash bar cover held on with a couple tabs in the middle.

Close-up of the internal mechanical components of a printer, with two visible metal bolts highlighted with red circles
Close-up view of a vehicle chassis with multiple bolts circled in red, securing metal components and brackets near the wheel well.

Remove the lower middle bracket from the crash bar, and the lower side brackets. Keep the OEM bolts.

A black metal bracket with two bolts on each end, lying on a stained concrete floor with cracks and holes.
Black metal automotive part with mounting holes and a support bracket, lying on a concrete floor.

Pictures of the brackets removed.

Under the vehicle showing exhaust pipes and metal framework
A black metal car part, possibly a mounting bracket, lying on a concrete floor next to the front bumper of a vehicle.

Remove the metal bracket sandwiched between the front skid plate and the frame, if equipped, and then reinstall the skid plate.

Close-up of a metal mounting bracket with bolts attached, part of a mechanical or automotive assembly.
A red metal bracket mounted under a vehicle's radiator, secured with bolts, used for structural support or attachment.
A white Lexus vehicle elevated on a car lift inside a garage or workshop, with shelves of boxes and tools nearby.

Install the two NYTOP side brackets and the two NYTOP recovery points with OEM hardware. Keep the two side brackets slightly loose for future adjustments.

On the recovery points, torque down the M10 bolts (the 2 smaller bolts) to 35 ft-lbs./47 Nm, and the M12 bolts (the 4 larger bolts) to 75 ft-lbs./101 Nm.

A white Lexus vehicle, possibly an electric model, is positioned on a platform or lift in a warehouse or workshop, with shelving and cardboard boxes visible in the background.

Test fit the middle bumper, and make adjustments to the recovery points if needed.

Remove the middle bumper for the next step.

Close-up view of the internal components of an electronic device, featuring wiring, plastic and metal parts, and connectors.
Close-up of the internal components of an electronic or mechanical device, showing metal brackets, screws, and wiring.

Tuck up any wiring that might be hanging low with zip ties.

Black electronic device with cables, lying on beige carpeted floor.
Close-up of a mechanical assembly with two bolts circled in red, black metal parts, cables, and electrical connectors.

Assemble the 3-piece modular bumper together off the vehicle using the supplied M10 bolts and washers. Install Baja Designs S2 lights with our supplied M6 bolts and nuts now if you have them. If not, install the two block off plates with the supplied M6 bolts.

Close-up view of the underside of a vehicle, showing a metallic component, a white plastic part with vents, and red structural support.
Close-up of the front bumper and grille of a white vehicle, showing part of the headlight, black grille, and a red tow hook.

Optional: install a stick-on rubber trim between the plastic bumper and the NYTOP bumper for a cleaner look.

Close-up of a vehicle's engine mount area showing bolts and mounting bracket.
Close-up view of the underside of a vehicle's dashboard showing a red tow hook attachment point and other mounting hardware.
Close-up of a red safety or tackle box mounted under a vehicle, secured with bolts and a black metal frame, next to a tire with a rugged tread pattern.

Slide the bumper onto the recovery points and install 8 of the supplied M12 bolts with washers to secure the bumper to the vehicle. Adjust the two side brackets if needed.

The height can be adjusted with the supplied square spacer plates and washers, if needed. We recommend starting with all the spacer plates provided.

Torque down all the M10 (smaller) bolts to 35 ft-lbs./47 Nm, and all the M12 (larger) bolts to 75 ft-lbs./101 Nm.

Be mindful of the M6 bolts holding the Baja Designs lights or the block off plates, so that they don’t scratch the paint on the bumper cover. Use a plastic trim tool if necessary to help guide them in.

Close-up of a vehicle's front wheel, showing a rugged tire and part of the undercarriage with visible bolts and suspension components.
Close-up of a black vehicle's undercarriage in a garage, showing part of the wheel and suspension system.
View of a vehicle's front suspension and steering components, including coil springs, shock absorber, and various bolts and brackets.

Trim the wheel well liner accordingly by scoring it with a sharp blade and tearing it off for the cleanest cut.

Reinstall the one push pin and secure the liner with zip ties.

Front view of a white Lexus SUV with black grille, LED headlights, and large off-road tires parked on a cracked pavement.

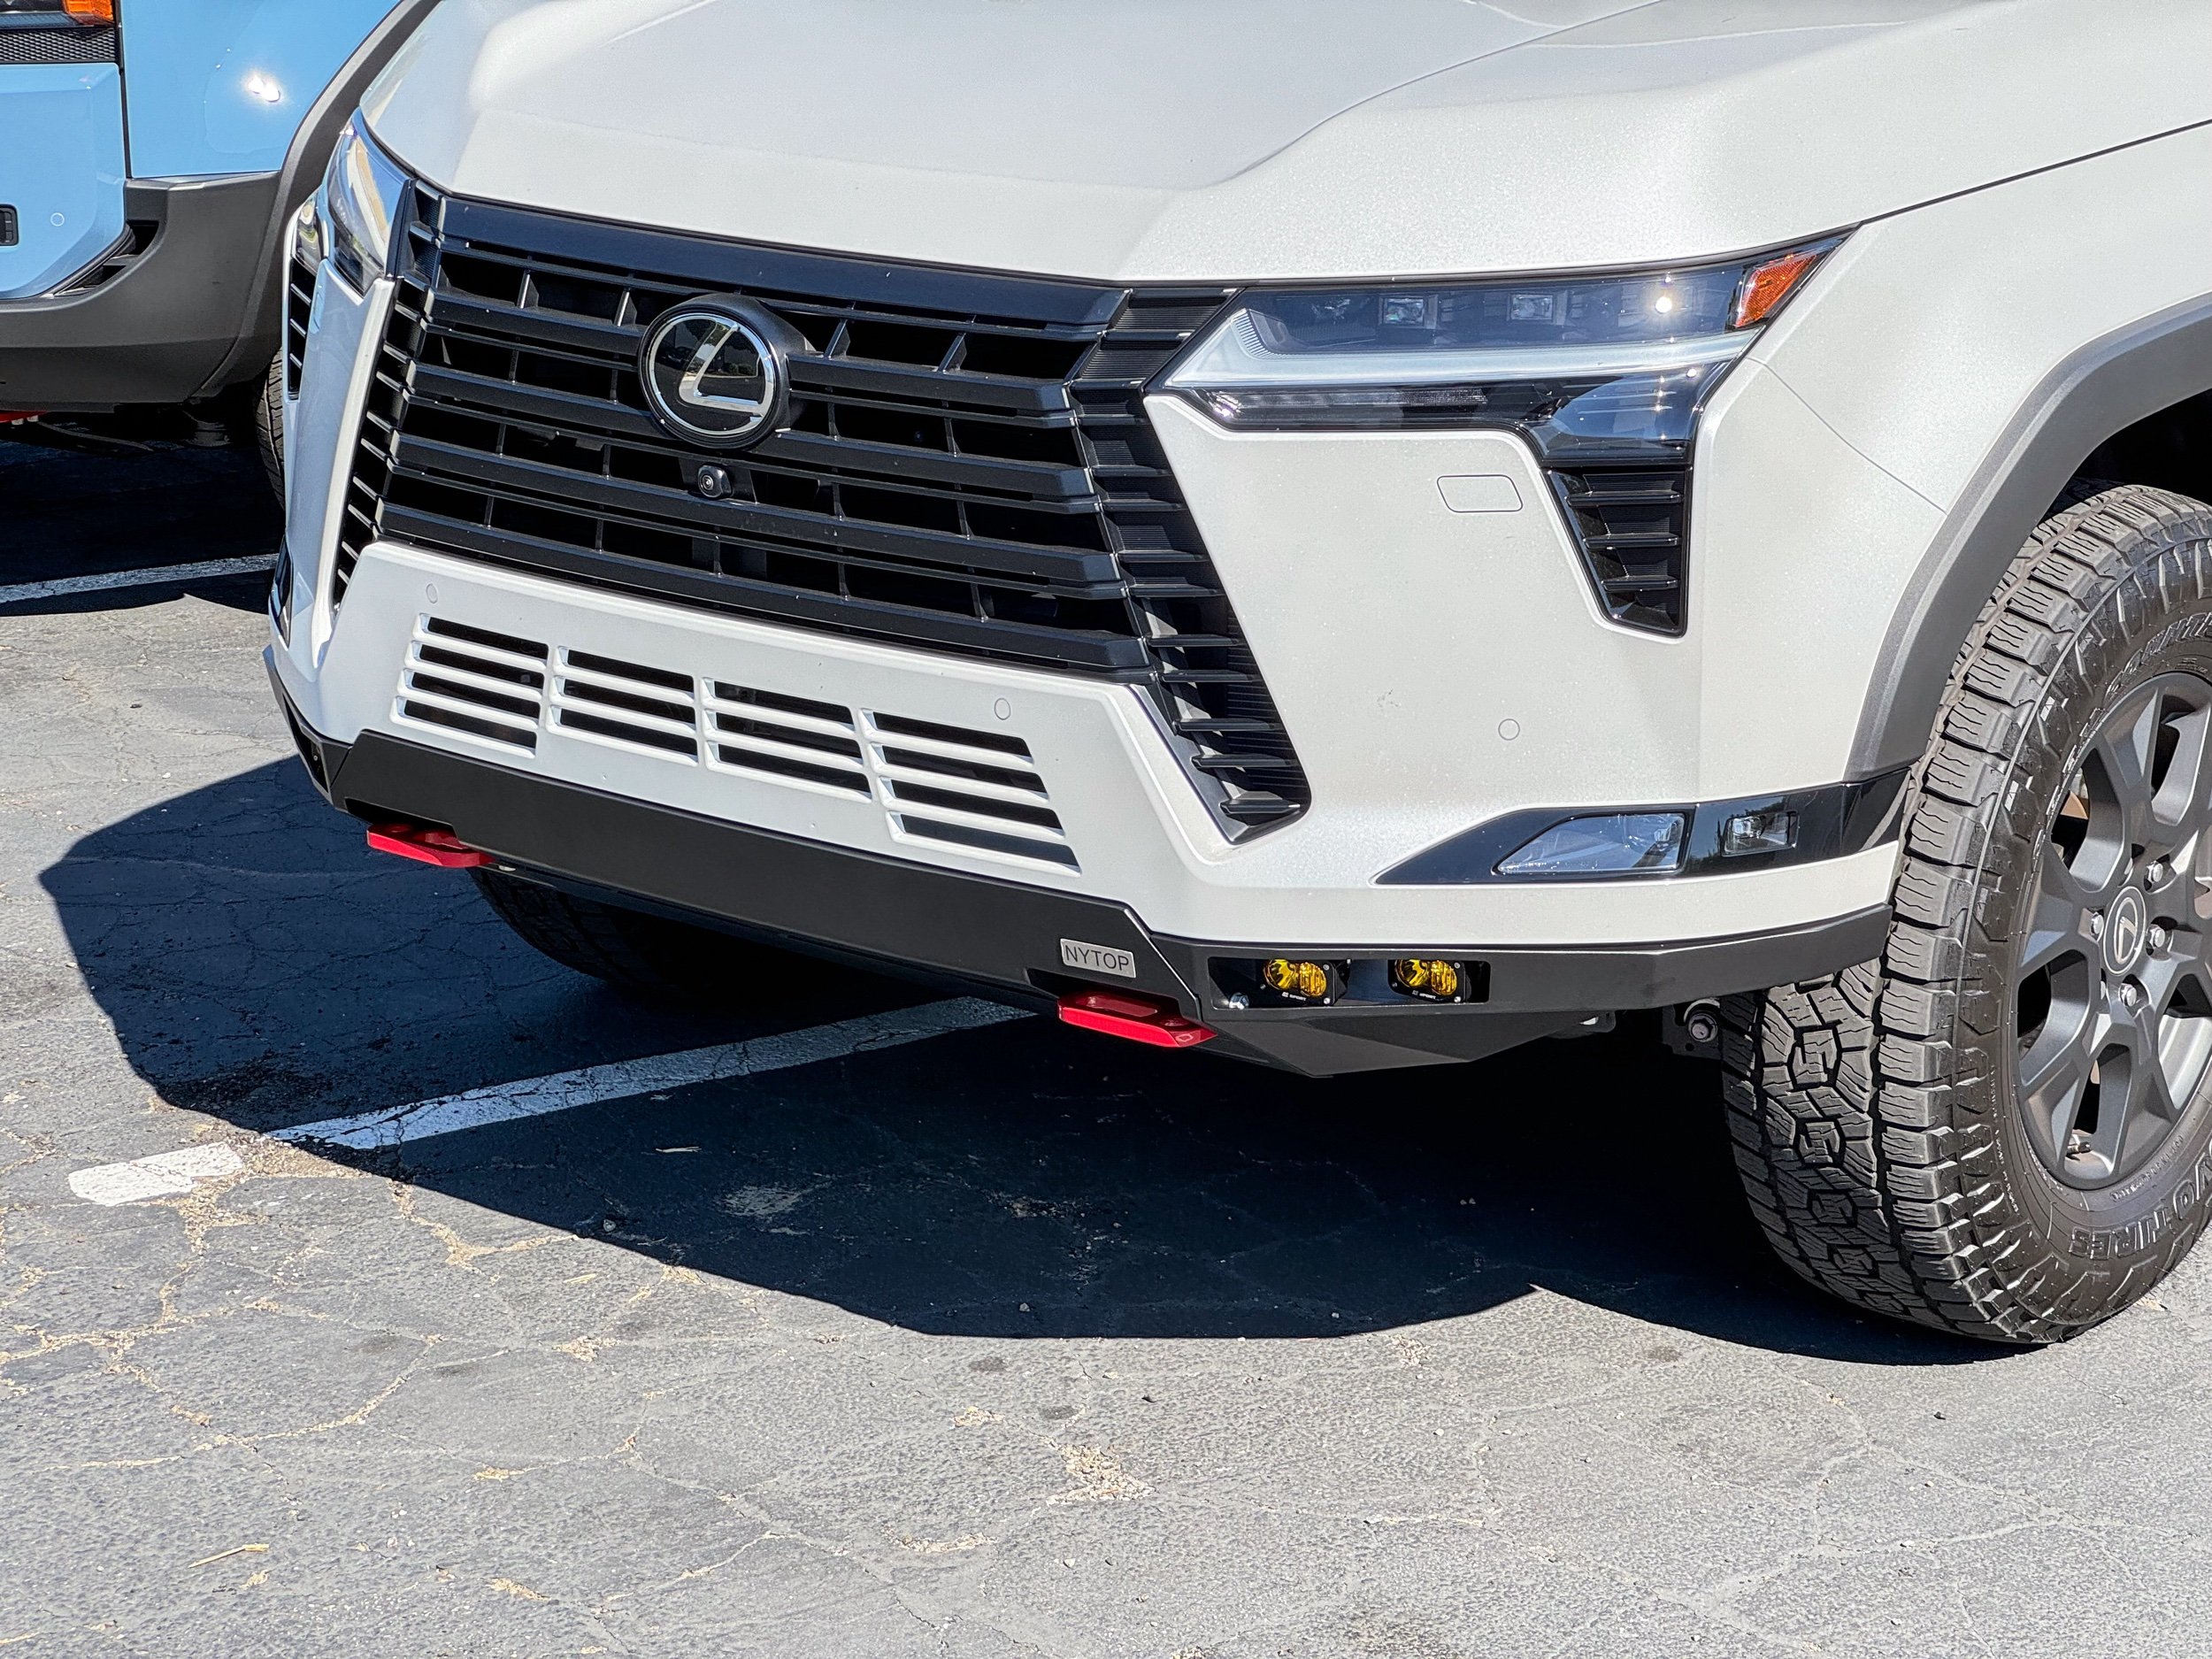
Enjoy the Recovery Points and the added protection!

Not Your Typical Off-road Parts