2024-Current Ford Mustang Front Fender Flares Installation Guide

Carbon fiber car spoiler with red accents on a white surface.
Close-up of a carbon fiber bicycle rim with a red accent on a white fabric background.

Before the installation, jack up the front of the vehicle for clearance.

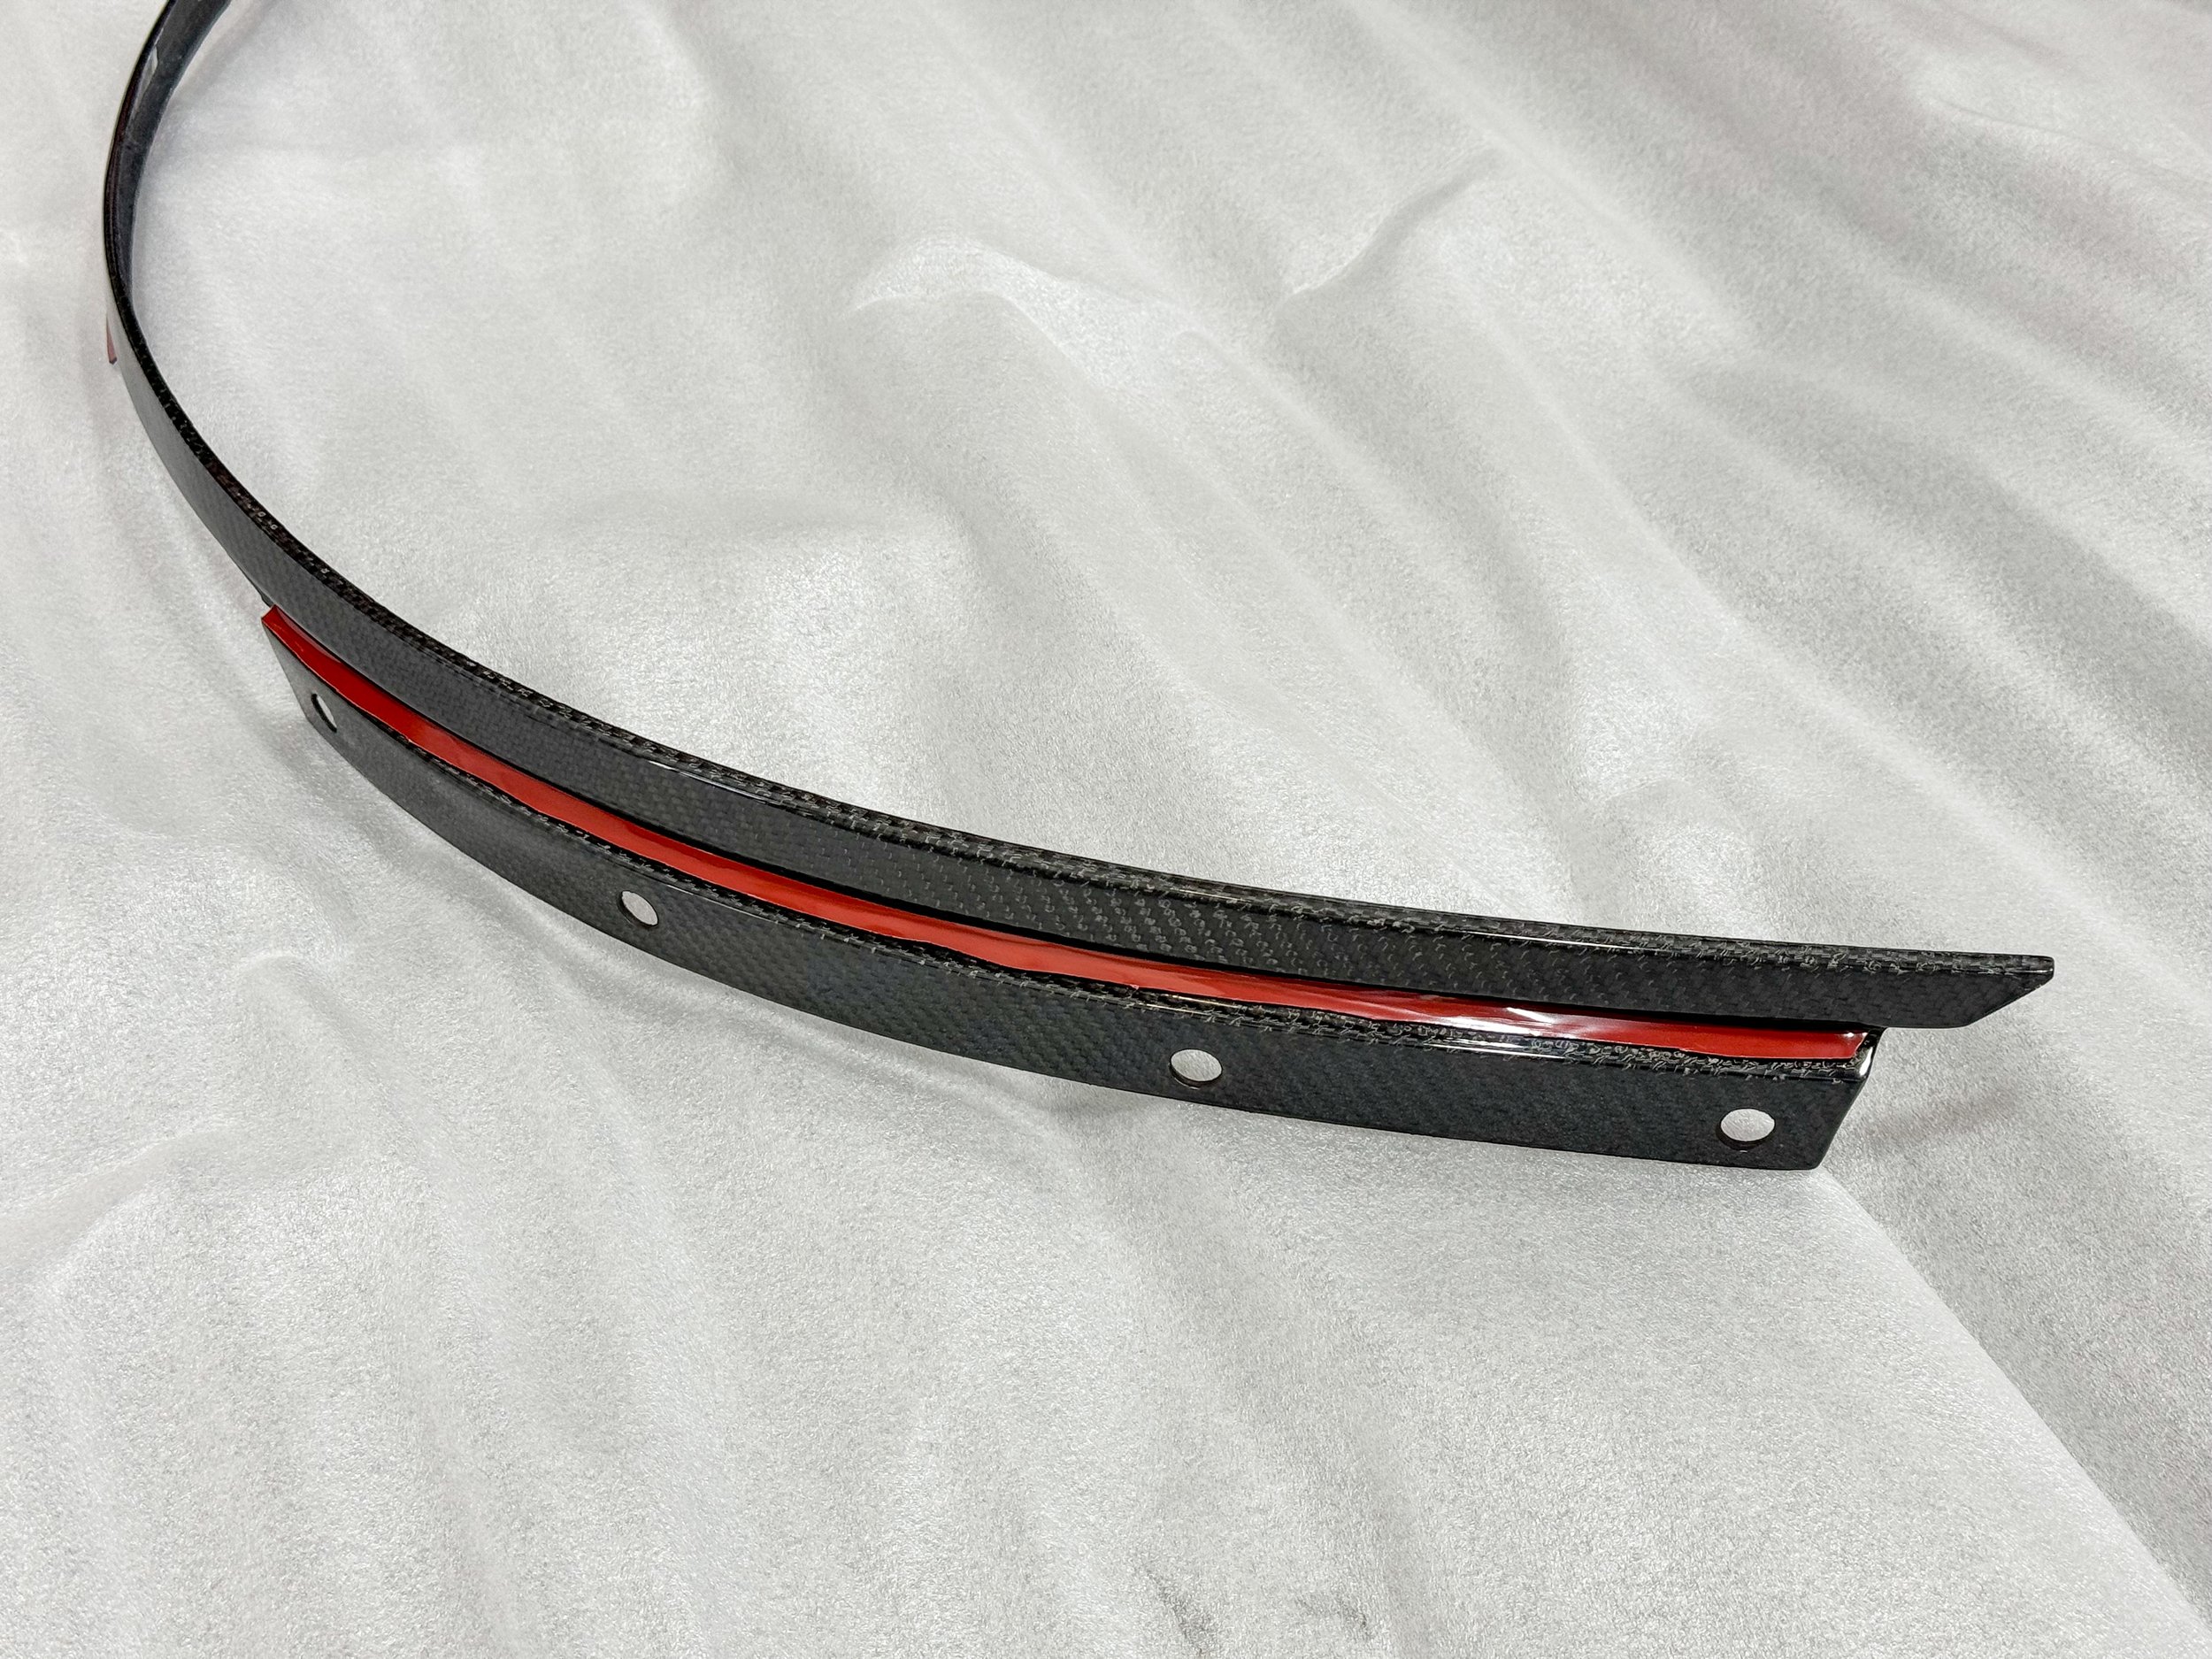
Apply the supplied 3M™ Super Strength Molding Tape onto each of the flares like shown in the pictures (front and the top portion). Make sure to thoroughly clean the surface of the flares with isopropyl alcohol, before applying the tape. We recommend cutting the tape in half (thinner) for the front portion of the flares.

Optimal surface temperature for the 3M™ Super Strength Molding Tape is above 65°F (18°C).

Close-up of the front bumper of a vehicle, showing two circular sensors circled in red, near the wheel.
Close-up of a car's wheel well showing two black sensors circled in red, with a gold-colored rim and black wheel.

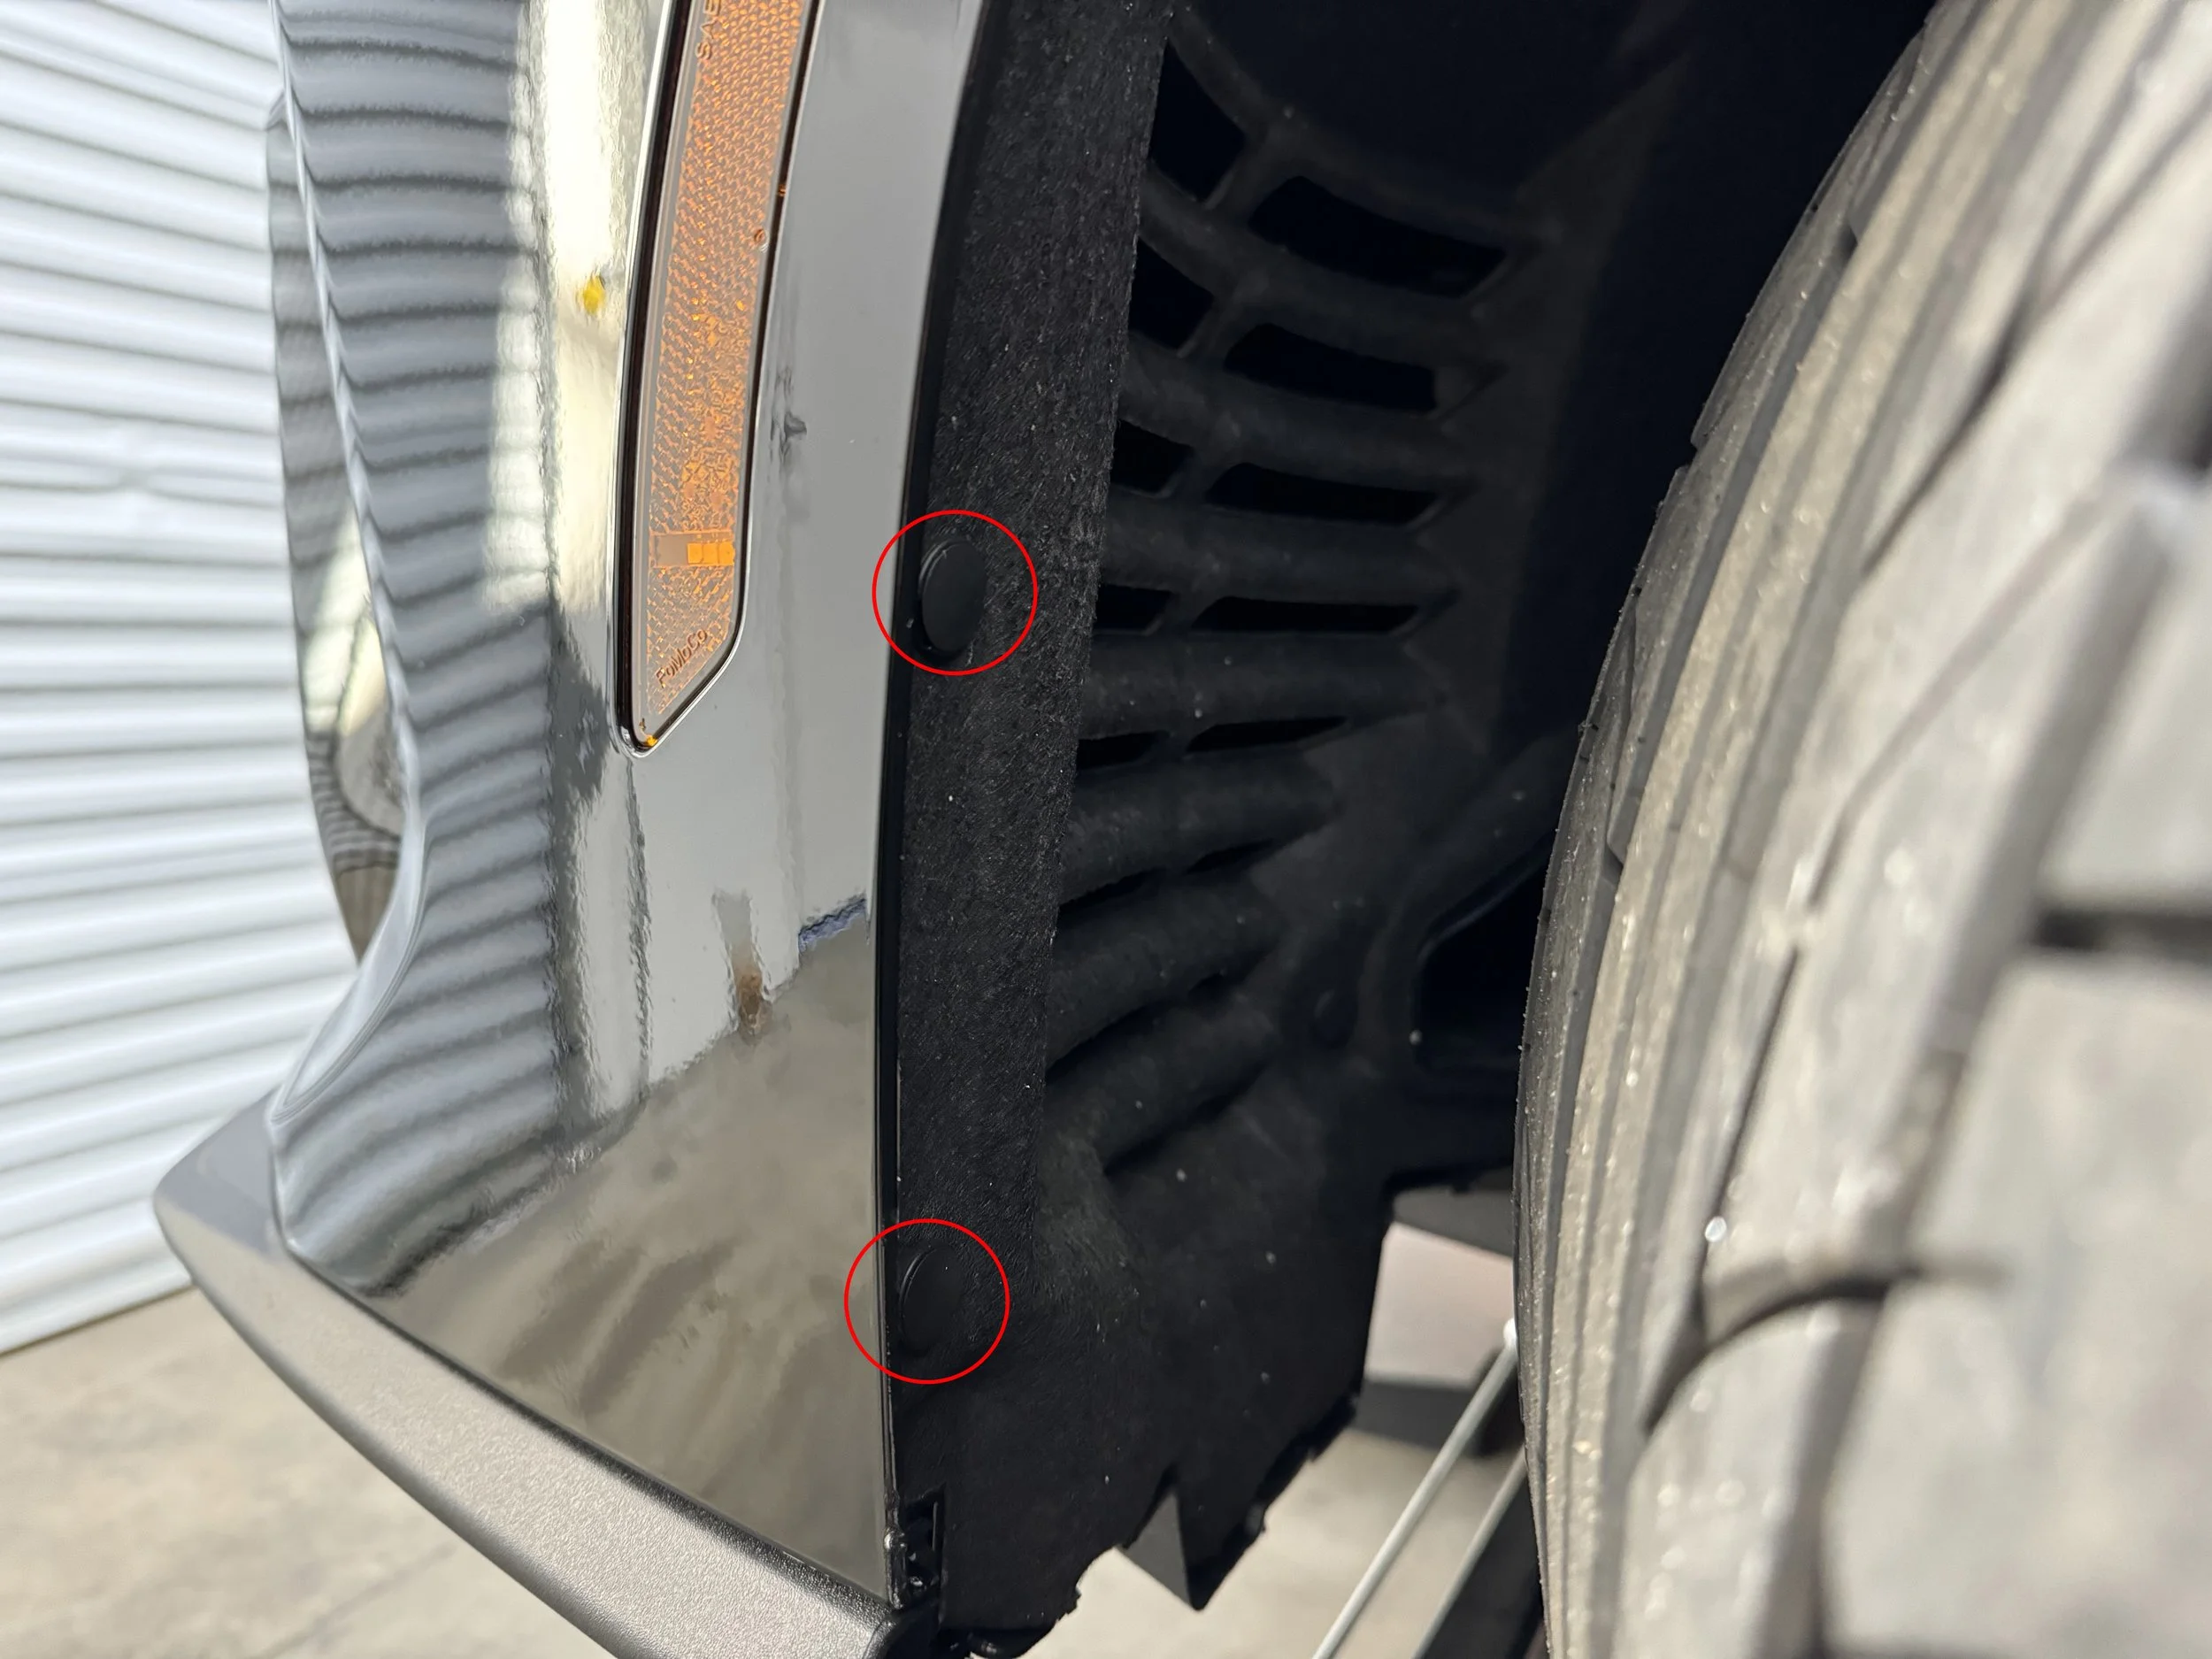
Remove 4 push pins from the front of the wheel well liner.

Driver side front fender shown in picture.

Close-up of a vehicle's wheel and fender, with a focus on a small screw circled in red on the fender near the tire.

Remove the 7mm bolt on the top of the wheel well.

Driver side front fender shown in picture.

Close-up of a car's front wheel with a gold alloy rim, red brake caliper, and black tire, showing two black sensors or clips on the black body panel near the wheel well, circled in red.

Remove 2 push pins from the rear of the wheel well liner.

Driver side front fender shown in picture.

Six small black plastic objects with flat circular bases and elongated hooks standing upright on a wooden surface against a beige wall.

Note that the 4 longer push pins go in the front of the wheel well, and the 2 shorter ones go on the rear.

Close-up of a high-performance tire and beige wheel on a black sports car, with red brake calipers visible through the wheel spokes, parked on a metal platform with tools nearby.
A hand holding a carbon fiber part with red tape, near a black sports car with a beige rim and red brake caliper.

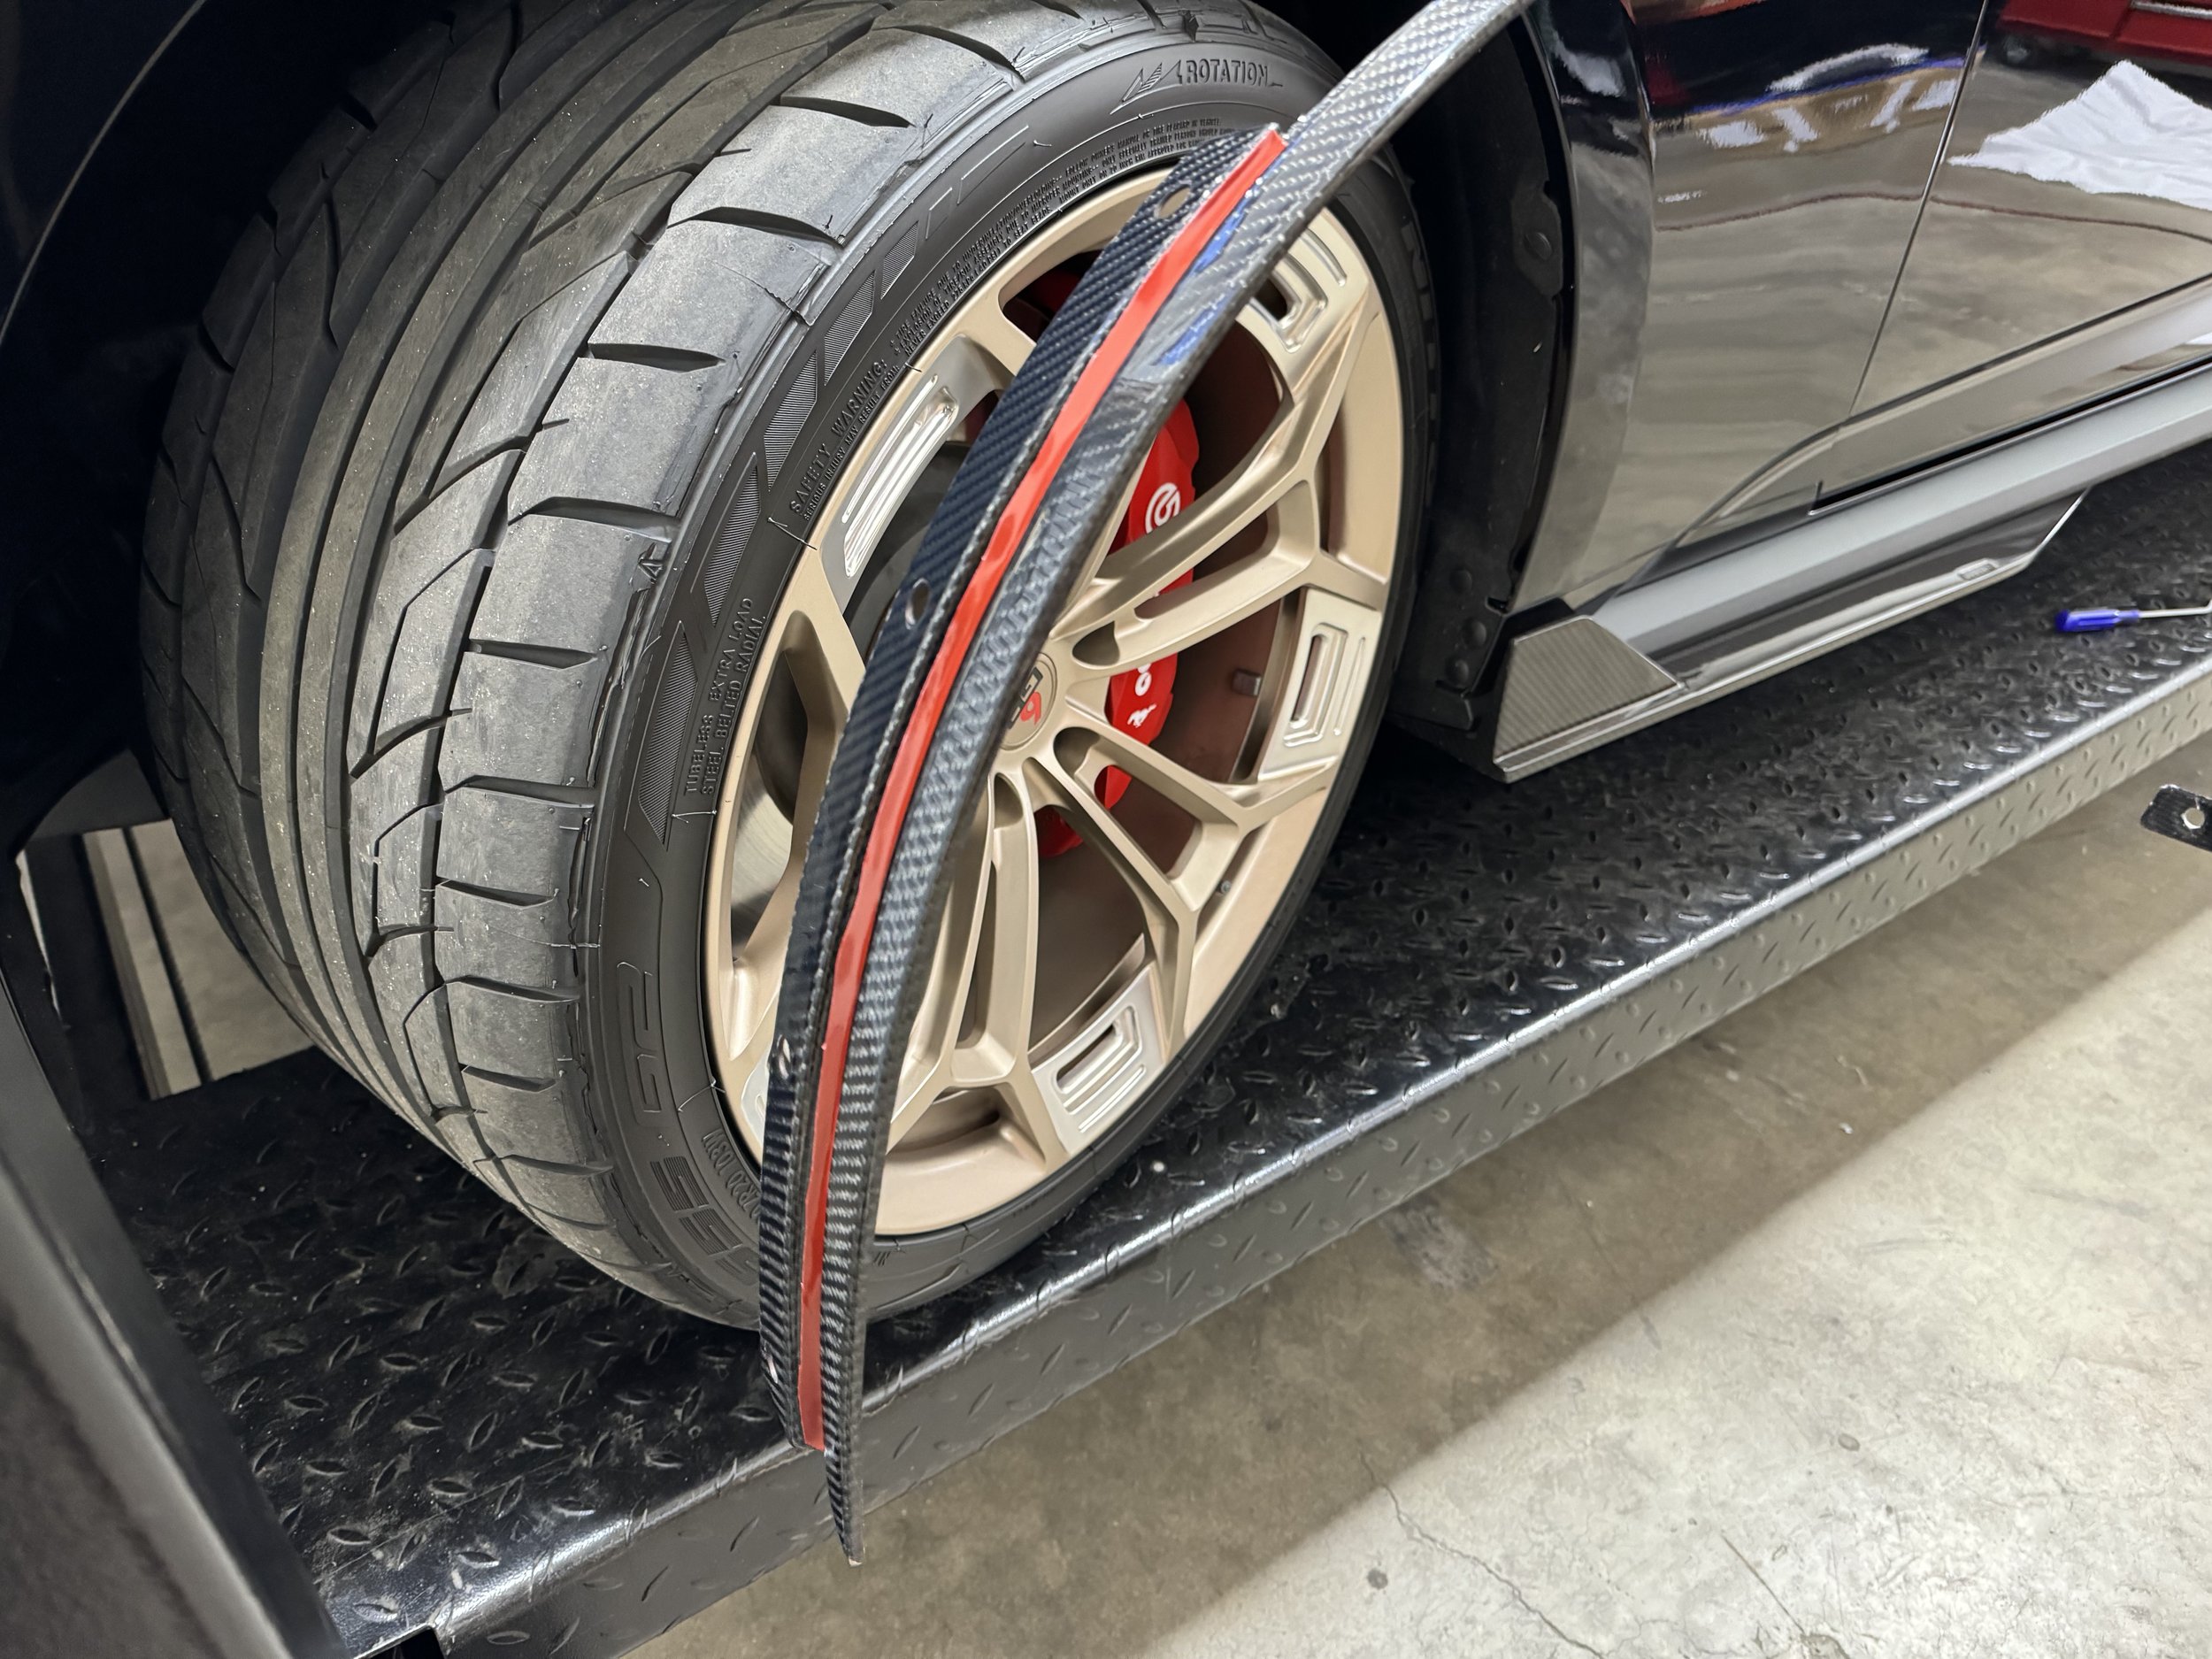
Now remove the tape backing, and install the flares by lining up all the holes on the flares to the wheel well push pin locations. Start from the front and work your way to the rear.

Reinstall all the hardware removed from the previous steps, and repeat on both sides of the vehicle.

For the polyurethane version, use the provided push pins on the front instead. And use the longer OEM push pins for the rear two holes.

Close-up of the front of a black sports car with gold wheels, red brake calipers, and a carbon fiber front lip, parked on pavement.
Close-up of a black sports car's front wheel and fender, featuring a gold-colored alloy rim, a red brake caliper, and a high-performance tire, with a reflection of palm trees and a building on the car's glossy surface.

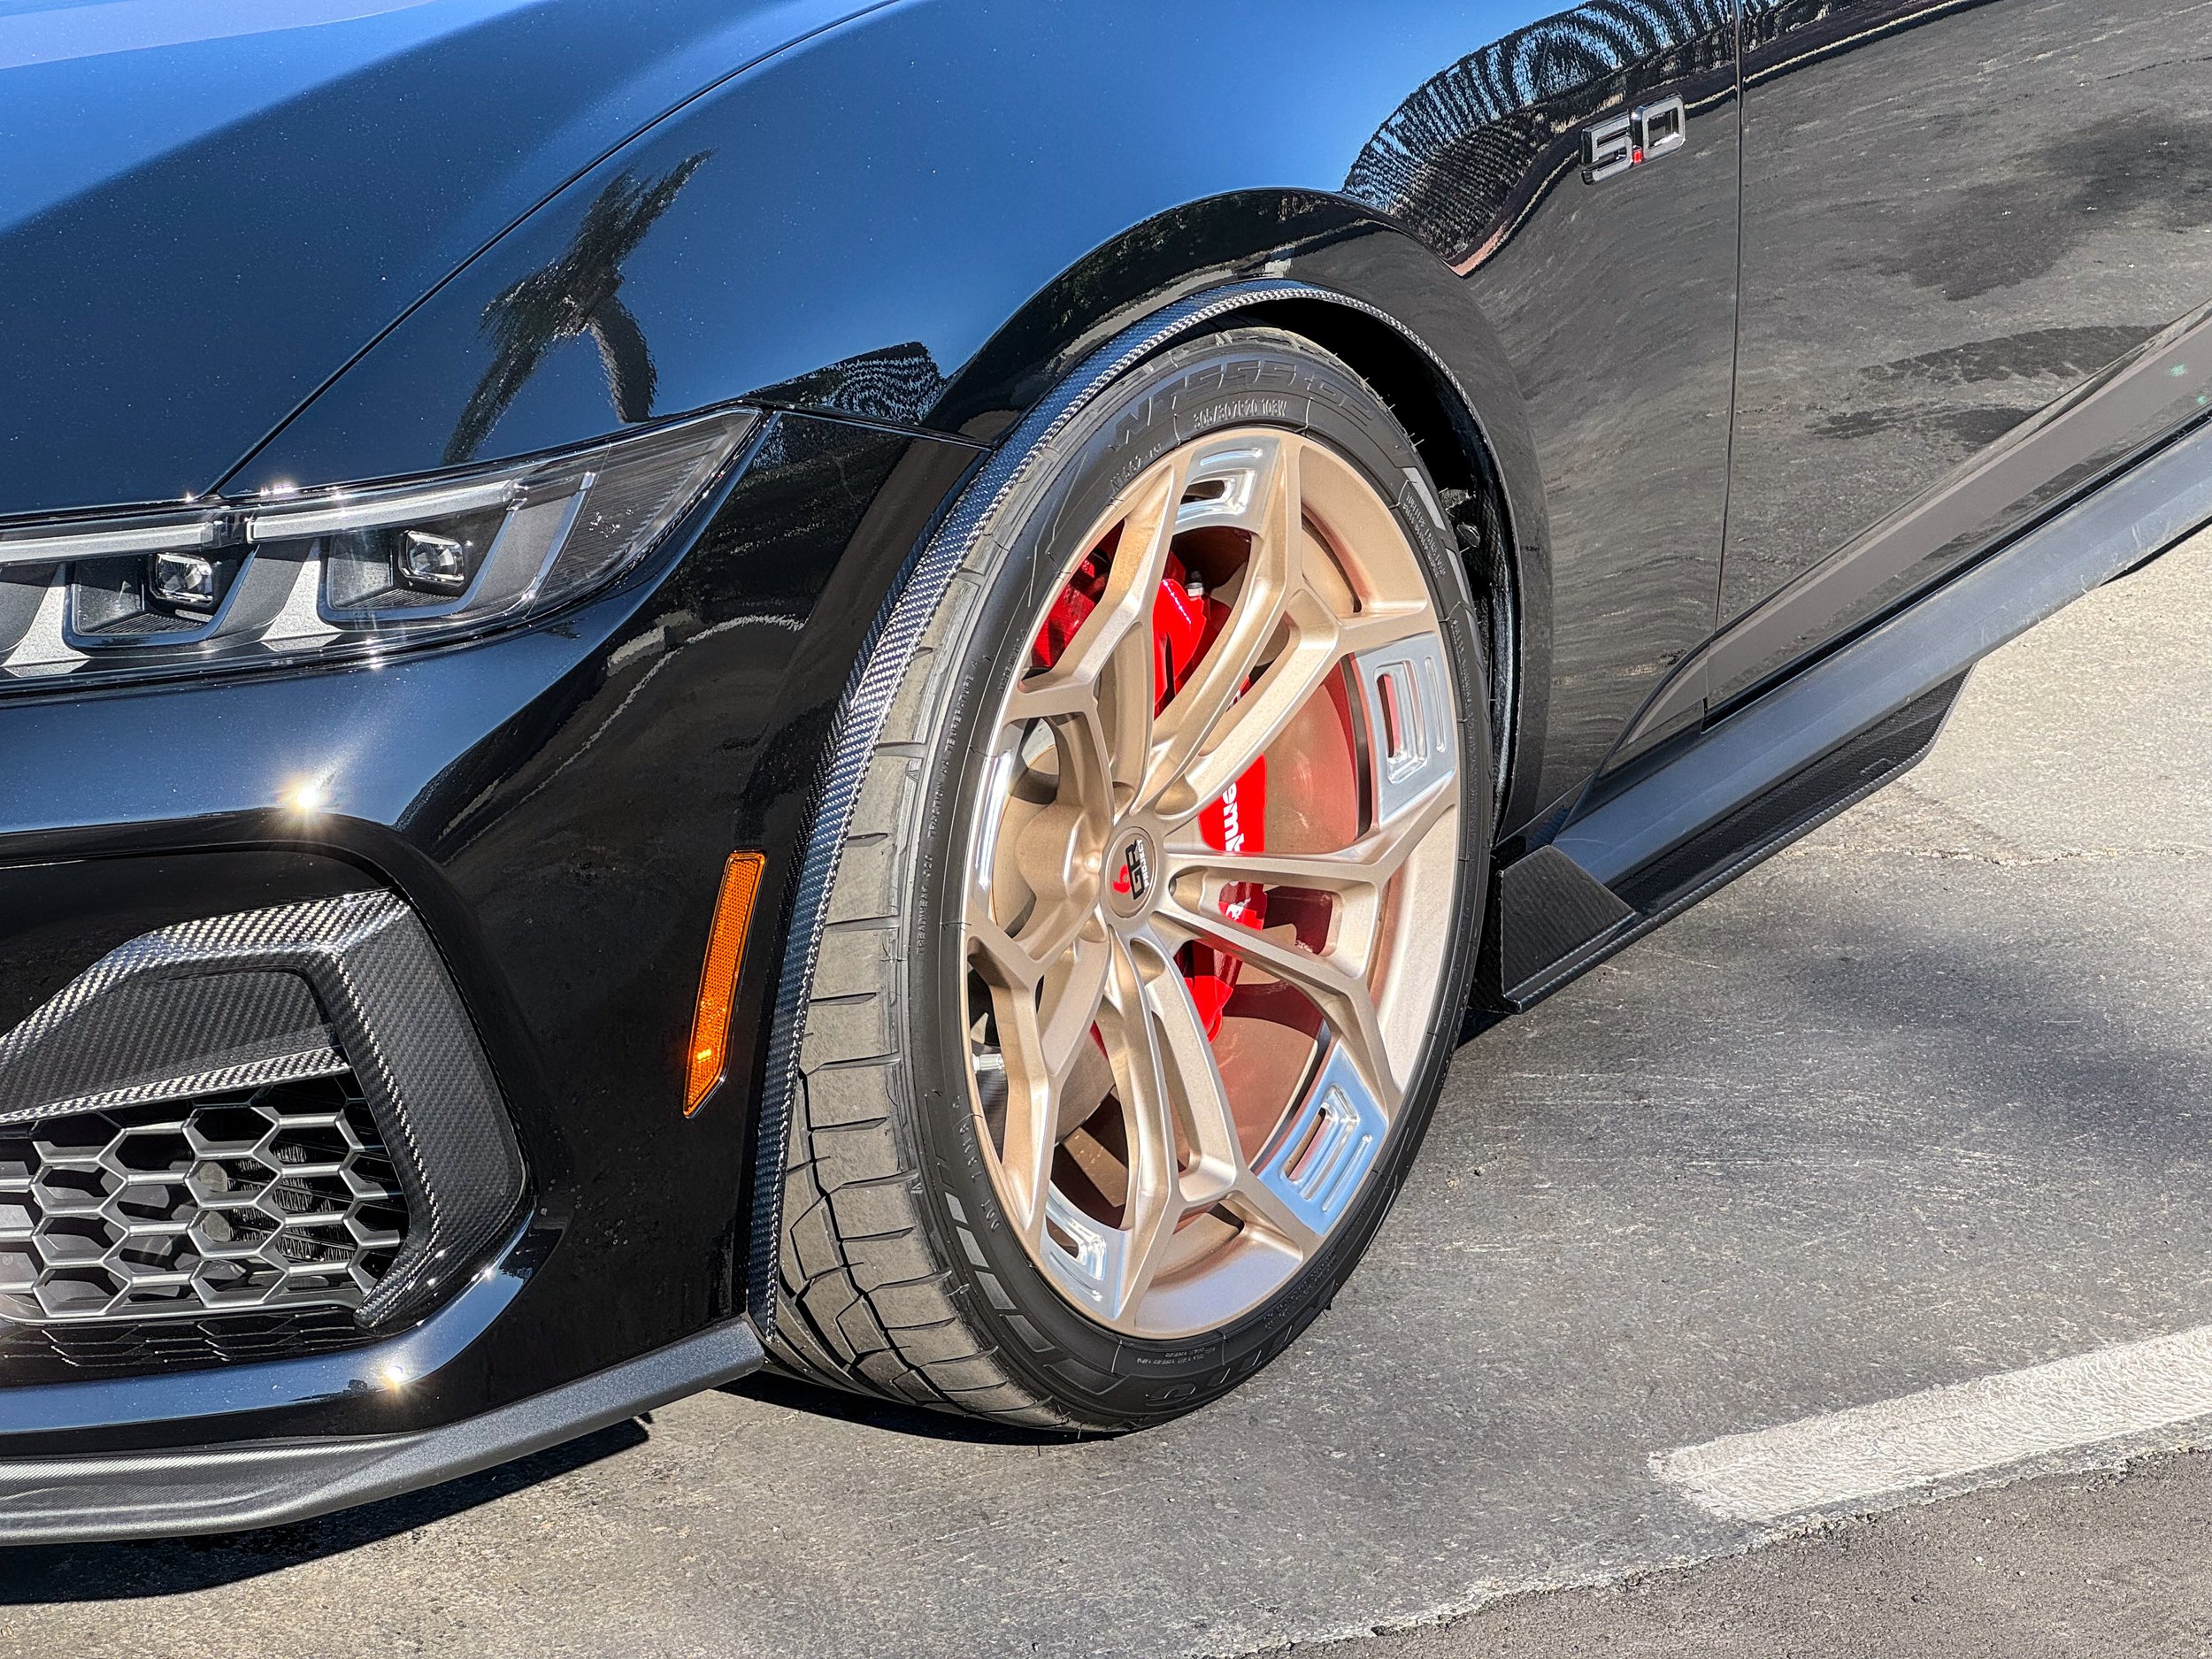
Enjoy the added protection and improved aerodynamics and aesthetics added to your vehicle!

Not Your Typical On-road Parts